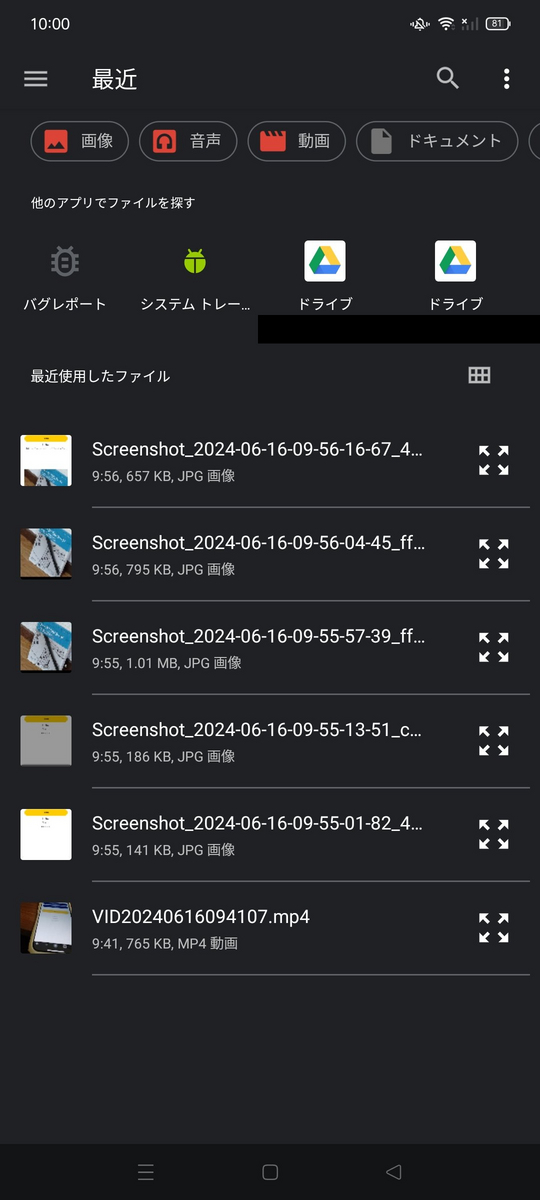
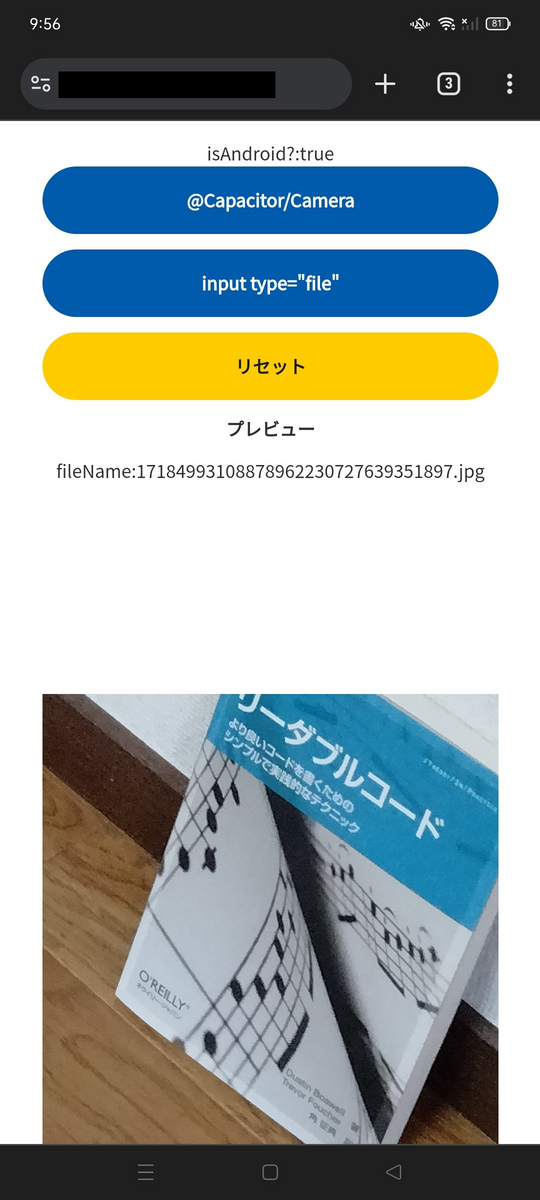
あああ

px-to-vw関数を複数のpx値を受け取れるように、Sassの「可変長引数」を使って実装します。引数に複数のpx値を渡すことで、関数がそれぞれをvwに変換して返すようにします。

以下のように、Sassの@each構文を使って、複数のpx値をループ処理し、すべての値をvwに変換する関数を作成します。

// src/styles/_mixins.scss
@function px-to-vw($px-values...) {
  $min-width: 375px;  // 最小画面幅
  $max-width: 1440px; // 最大画面幅
  $viewport-width: 100vw;
  
  $result: ();

  @each $px in $px-values {
    $vw-value: if(
      $px < $min-width,
      ($px / $min-width) * $viewport-width,
      if(
        $px > $max-width,
        ($px / $max-width) * $viewport-width,
        ($px / $max-width) * $viewport-width
      )
    );
    $result: append($result, $vw-value);
  }
  
  @return $result;
}

使い方

この関数を使って、複数のpx値を渡すと、各値が変換されたリストが返されます。リストの各要素を使うには、Sassのリスト要素指定を使って指定します。

// 使用例
.container {
  padding: px-to-vw(20px, 40px); // [20px, 40px] がvw単位に変換
}

.header {
  font-size: nth(px-to-vw(24px, 16px), 1); // 1つ目のpx値が変換されたvw
  line-height: nth(px-to-vw(24px, 16px), 2); // 2つ目のpx値が変換されたvw
}

Vueコンポーネントでの例

以下のように、Vueファイルのスタイルセクションでこの関数を活用できます。

<template>
  <div class="container">
    <header class="header">リキッドレイアウトのサンプル</header>
  </div>
</template>

<script>
export default {
  name: "LiquidLayoutSample",
};
</script>

<style lang="scss" scoped>
@import "@/styles/_mixins.scss";

.container {
  padding: px-to-vw(20px, 40px); // 20px と 40px がそれぞれvwに変換され適用
}

.header {
  font-size: nth(px-to-vw(24px, 16px), 1); // 24pxをvwに変換
  line-height: nth(px-to-vw(24px, 16px), 2); // 16pxをvwに変換
}
</style>

補足

  • nth(px-to-vw(24px, 16px), 1)のように、リスト内の値を指定することで、それぞれの変換後の値を使えます。
  • この関数により、必要に応じて複数のpx値を一度に変換することが可能です。

一般的には、1440pxまたは1920px を基準にしてリキッドレイアウトを設計しつつ、メディアクエリでレスポンシブ対応を行うことが多いです。これにより、どのデバイスでも見やすく快適なレイアウトを維持できます。

@function px-to-vw($px) { $base-width: 1920px; @return ($px / $base-width) * 100vw; // 単位を追加 }

input type="file"で写真撮影orライブラリからファイルを選択する

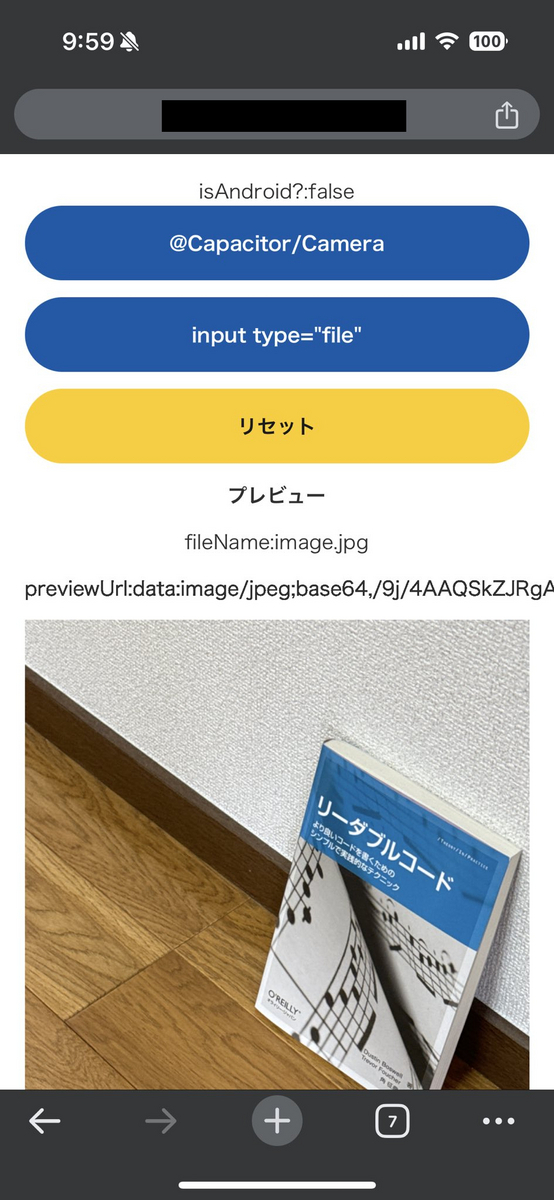
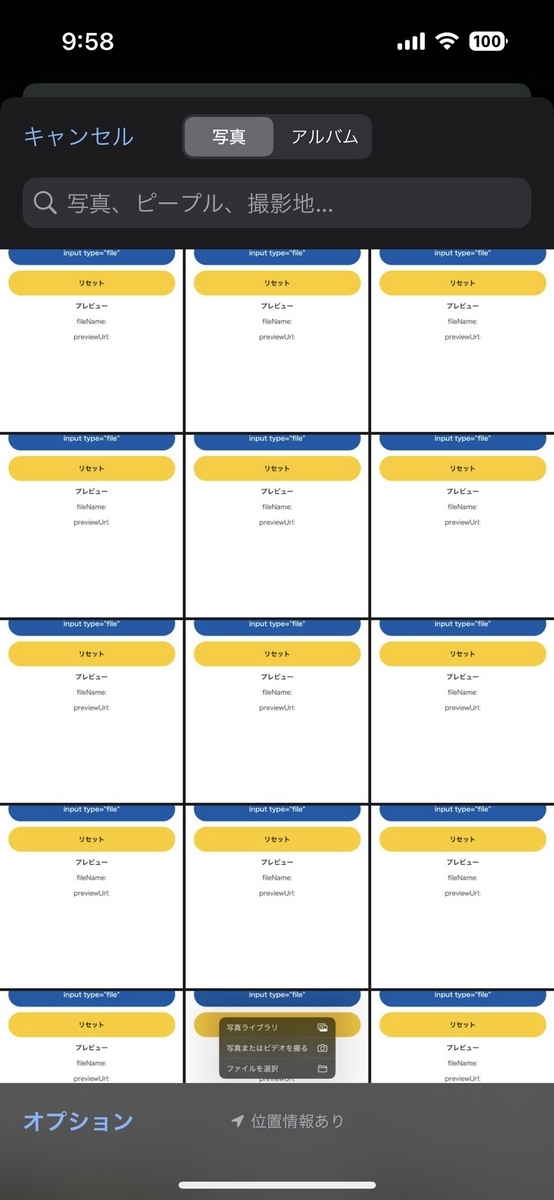
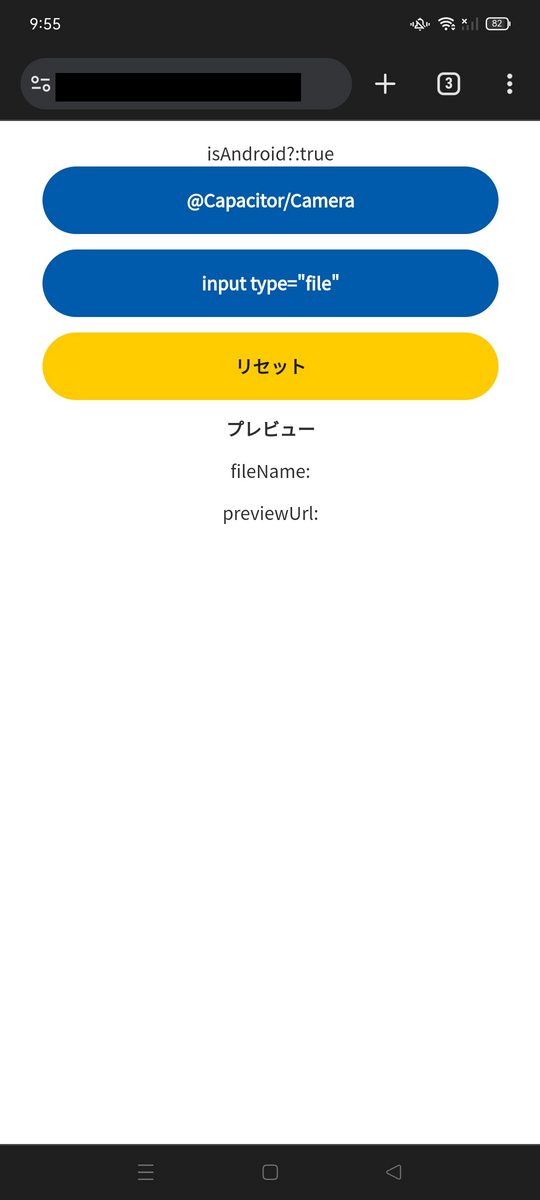
★完成形★

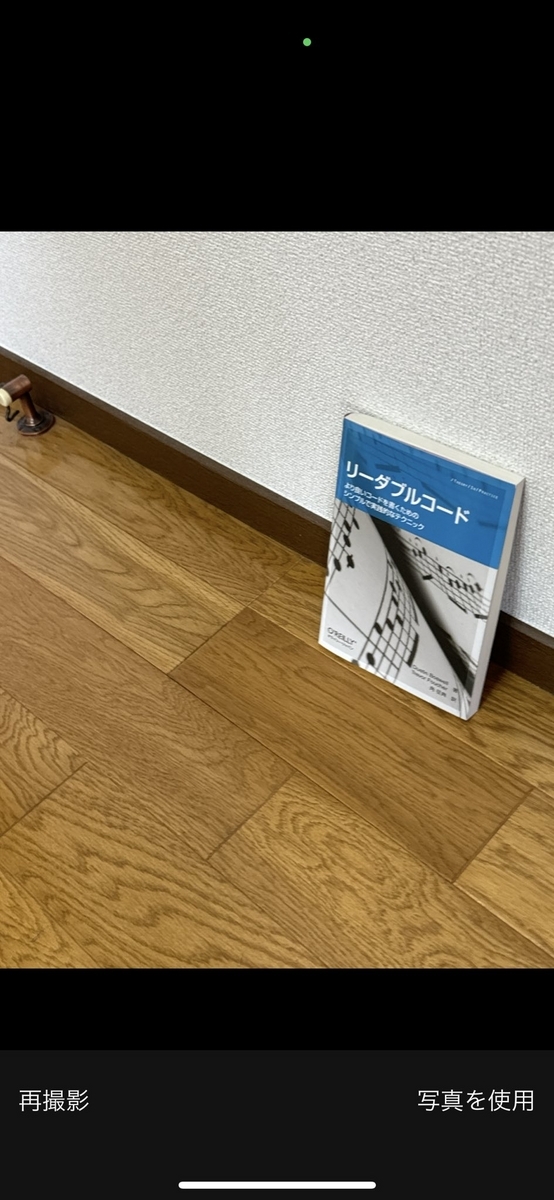
iPhone

写真またはビデオを撮る

写真を選択

ファイルを選択


Android

カメラ

メディアを選択


コード


 <template>
  <div class="root">
    isAndroid?:{{ isAndroid }}
    <div class="button1" @click="pickImagesOrSelect()">@Capacitor/Camera</div>
    <div class="button1" @click="changeFn()">input type="file"</div>
    <input type="file" @change="handleFileChange" accept="*" ref="fileInput" />
    <div class="resetButton" @click="handleClickRest">リセット</div>
    <div class="captureWrap">
      <h1>プレビュー</h1>
      <div>fileName:{{ fileName }}</div>
      <div>previewUrl:{{ previewUrl }}</div>
      <div class="capture">
        <img :src="previewUrl" />
      </div>
    </div>
  </div>
</template>
<script lang="ts" setup>
import { onMounted, ref } from 'vue'
import {
  Camera,
  CameraResultType,
  CameraSource,
  ImageOptions
} from '@capacitor/camera'
// @capacitor/camera
const isAndroid = ref(false)
const pickImagesOrSelect = async () => {
  let options: ImageOptions = {
    quality: 90,
    resultType: CameraResultType.DataUrl, // 実行後のデータの種類を指定
    correctOrientation: true,
    source: CameraSource.Prompt, // 写真を撮るorライブラリから選択
    webUseInput: true
  }
  if (isAndroid.value) {
    options.source = CameraSource.Prompt
  }
  const image = await Camera.getPhoto(options)
  previewUrl.value = image.dataUrl
}
const getMobileOS = () => {
  const ua = navigator.userAgent
  return /android/i.test(ua)
}
onMounted(() => {
  isAndroid.value = getMobileOS()
})
// input type="file"
const file = ref()
const previewUrl = ref()
const fileInput = ref()
const fileName = ref()
const changeFn = () => {
  fileInput.value.click()
}
const handleFileChange = (event: Event) => {
  const target = event.target as HTMLInputElement
  file.value = (target.files as FileList)[0]
  fileName.value = file.value.name
  if (file.value) {
    const reader = new FileReader()
    reader.onload = (e: ProgressEvent<FileReader>) => {
      previewUrl.value = e.target?.result as string | null
    }
    reader.readAsDataURL(file.value)
  }
}
// reset
const handleClickRest = () => {
  previewUrl.value = null
  fileName.value = null
}
</script>
<style lang="scss" scoped>
.root {
  margin: 0 auto;
  width: 390px;
  position: relative;
  padding: 16px;
}
.captureWrap {
  width: 100%;
  display: flex;
  flex-flow: column;
  gap: 12px;
  .capture {
    img {
      width: 100%;
    }
  }
}
.button1 {
  background-color: #005bac;
  color: #fff;
  padding: 16px;
  margin-bottom: 12px;
  border-radius: 32px;
  cursor: pointer;
  font-weight: bold;
}
.resetButton {
  color: #1a1c21;
  background-color: #ffcc00;
  font-weight: bold;
  padding: 16px;
  margin-bottom: 12px;
  border-radius: 32px;
  cursor: pointer;
}
input[type='file'] {
  display: none;
}
</style>

カメラ機能

<template>
  <div class="root">
    <div>
      <div class="button1" @click="pickImagesOrSelect()">
        写真選択 or 写真撮影
      </div>
      <div class="resetButton" @click="captures = []">リセット</div>

      <div class="captureWrap">
        <div class="capture" v-for="c in captures" v-bind:key="c.d">
          <img v-bind:src="c" />
        </div>
        <p>{{ dataUrlString }}</p>
      </div>
    </div>
  </div>
</template>

<script lang="ts">
import { defineComponent, ref } from "vue";
import { Camera, CameraResultType, CameraSource } from "@capacitor/camera";

export default defineComponent({
  setup() {
    const video = ref();
    const canvas = ref();
    const captures = ref([]) as any;
    const dataUrlString = ref();

    const pickImagesOrSelect = async () => {
      const image = await Camera.getPhoto({
        quality: 60, // 0~100まで
        source: CameraSource.Prompt, // 写真を撮るorライブラリから選択or両方
        resultType: CameraResultType.DataUrl, // 実行後のデータの種類を指定
        presentationStyle: "popover", // 画像の表示
        webUseInput: true, // ブラウザで実行した時の処理
        promptLabelHeader: "写真を選択", // 以下の文言のタイトル的なもの
        promptLabelPicture: "写真を撮る", // 写真を撮るときに表示される文言
        promptLabelPhoto: "アルバルから選択", // ライブラリにアクセスする時に表示される文言
        promptLabelCancel: "キャンセル", // 実行を取りやめる時の文言
        correctOrientation: true,
      });
      dataUrlString.value = image.dataUrl;
      captures.value.push(image.dataUrl);
    };

    return {
      video,
      canvas,
      captures,
      pickImagesOrSelect,
      dataUrlString,
    };
  },
});
</script>

<style lang="scss" scoped>
.root {
  margin: 0 auto;
  width: 390px;
  position: relative;
  padding: 16px;
}

.photo {
  width: 390px;
  height: 390px;
  margin-bottom: 24px;
}
.l2 {
  top: 0;
  position: absolute;
}
#camera_record_box {
  position: absolute;
  width: 390px;
  height: 390px;
  background-image: url("../square-1.png");
  opacity: 0.5;
}
#canvas {
  display: none;
}

.captureWrap {
  width: 100%;
  display: flex;

  flex-flow: column;
  gap: 12px;

  .capture {
    img {
      width: 100%;
    }
  }
}

.button1 {
  background-color: #005bac;
  color: #fff;
  padding: 16px;
  margin-bottom: 12px;
  border-radius: 32px;
  cursor: pointer;
  font-weight: bold;
}

.resetButton {
  color: #1a1c21;
  background-color: #ffcc00;
  font-weight: bold;

  padding: 16px;
  margin-bottom: 12px;
  border-radius: 32px;
  cursor: pointer;
}
</style>

スクロールでフェードインするステップバー

<template>
  <div class="root">
    <q-dialog v-model="seamless" seamless position="bottom">
      <div class="dialog">
        <div class="container">
          <div class="stepbar">
            <div class="stepbarwrap">
              <div class="steptitle">
                <div class="stepcircle">
                  <span>STEP<br />1</span>
                </div>
                <p class="title">テキスト1</p>
              </div>
              <div class="steptxt">
                <span class="txt"
                  >テキストテキストテキストテキストテキストテキストテキストテキストテキストテキストテキストテキストテキストテキストテキストテキストテキストテキストテキストテキストテキストテキストテキストテキストテキストテキストテキストテキストテキストテキストテキストテキストテキストテキストテキストテキストテキストテキストテキストテキストテキストテキストテキストテキストテキストト</span
                >
              </div>
              <span class="stepline"></span>
            </div>

            <div class="stepbarwrap">
              <div class="steptitle">
                <div class="stepcircle">
                  <span>STEP<br />2</span>
                </div>
                <p class="title">テキスト2</p>
              </div>
              <div class="steptxt">
                <span class="txt"
                  >テキストテキストテキストテキストテキストテキストテキストテキストテキストテキストテキストテキストテキストテキストテキストテキストテキストテキストテキストテキストテキストテキストテキストテキストテキストテキストテキストテキストテキストテキストテキストテキストテキストテキストテキストテキストテキストテキストテキストテキストテキストテキストテキストテキストテキストト</span
                >
              </div>
              <span class="stepline"></span>
            </div>

            <div class="stepbarwrap">
              <div class="steptitle">
                <div class="stepcircle">
                  <span>STEP<br />3</span>
                </div>
                <p class="title">テキスト3</p>
              </div>
              <div class="steptxt">
                <span class="txt"
                  >テキストテキストテキストテキストテキストテキストテキストテキストテキストテキストテキストテキストテキストテキストテキストテキストテキストテキストテキストテキストテキストテキストテキストテキストテキストテキストテキストテキストテキストテキストテキストテキストテキストテキストテキストテキストテキストテキストテキストテキストテキストテキストテキストテキストテキストト</span
                >
              </div>
              <span class="stepline"></span>
            </div>
          </div>
        </div>
      </div>
    </q-dialog>
  </div>
</template>

<script lang="ts" setup>
import { ref } from "vue";
const seamless = ref(true);
</script>

<style lang="scss" scoped>
.root {
  width: 100%;
  margin: 0 auto;
}
.dialog {
  filter: drop-shadow(0 0 10px #000);
  border-radius: 16px 16px 0 0;
  width: 100%;
  height: 500px;
  background-color: #fff;
  padding: 30px;
  /*上下方向にはみ出した要素ををスクロールさせる*/
  overflow-y: scroll;
  /*スクロールバー非表示(IE・Edge)*/
  -ms-overflow-style: none;
  /*スクロールバー非表示(Firefox)*/
  scrollbar-width: none;
  &::-webkit-scrollbar {
    display: none;
  }
}

.container {
  width: 100%;
  margin: 0 auto;
  display: flex;
  padding: 0;
  justify-content: center;
  align-items: center;
  flex-direction: column;
  gap: 100px;
  margin-bottom: 120px;

  // スナップ
  scroll-snap-type: y mandatory;
}

.stepbarwrap {
  // フェードインアニメーション
  animation: fadeIn linear both;
  animation-timeline: view();
  animation-range: entry 25% cover 50%;

  // スナップ
  scroll-snap-align: start;
}

@keyframes fadeIn {
  from {
    opacity: 0;
  }

  to {
    opacity: 1;
  }
}

.stepbar {
  margin: 0 auto;
}

.stepbar .stepbarwrap {
  margin: 2em 0;
  position: relative;
}

.stepbar .stepbarwrap .steptitle {
  display: inline-flex;
  align-items: center;
}

.stepbar .stepbarwrap .steptitle .stepcircle {
  display: inline-block;
  width: 3em;
  height: 3em;
  content: "";
  border-radius: 50%;
  background-color: #000;
  color: #fff;
  text-align: center;
}

.stepbar .stepbarwrap .steptitle .stepcircle span {
  display: inline-block;
  line-height: 1.2em;
  font-size: 0.8em;
  font-weight: bold;
  position: relative;
  top: 0.9em;
}

.stepbar .stepbarwrap .steptitle .title {
  margin: 0.5em;
  font-weight: bold;
  font-size: 1.2em;
}

.stepbar .stepbarwrap .steptxt {
  padding-left: 3.5em;
}

.stepbar .stepbarwrap .steptxt .txt {
  font-size: 0.9em;
}

.stepbar .stepbarwrap .stepline {
  width: 1px;
  height: calc(100% + 1em);
  background-color: #000;
  position: absolute;
  top: 1em;
  left: 1.5em;
  z-index: -1;
}

.stepbarwrap:last-of-type .stepline:last-of-type {
  display: none;
}
</style>

Webカメラの上に透かし的なものを重ねたい

完成形


コード

<template>
  <div class="root">
    <div class="photo">
      <video ref="video" id="video"></video>
      <canvas ref="canvas" id="canvas"></canvas>

      <div class="l2">
        <canvas id="camera_record_box"></canvas>
      </div>
    </div>

    <div>
      <div class="button1" @click="capture()">写真を撮影</div>
      <div class="button1" @click="takePicture()">写真を選択</div>
      <div class="button1" @click="captures = []">リセット</div>
    </div>

    <div class="captureWrap">
      <div class="capture" v-for="c in captures" v-bind:key="c.d">
        <img v-bind:src="c" />
      </div>
    </div>
  </div>
</template>

<script lang="ts">
import { defineComponent, ref, onMounted } from "vue";
import { Camera } from "@capacitor/camera";

export default defineComponent({
  setup() {
    const video = ref();
    const canvas = ref();
    const captures = ref([]) as any;

    const constraints = {
      audio: false,
      video: {
        width: 390,
        height: 390,
        facingMode: "user",
        // facingMode: {
        //   exact: "environment",
        // },
      },
    };

    onMounted(() => {
      if (navigator.mediaDevices && navigator.mediaDevices.getUserMedia) {
        navigator.mediaDevices
          .getUserMedia(constraints)
          .then((stream) => {
            video.value.srcObject = stream;
            video.value.play();
          })
          .catch((e: any) => {
            console.log("ERROR: ", e);
          });
      }
    });

    const capture = () => {
      if (captures.value.length < 4) {
        canvas.value.getContext("2d").drawImage(video.value, 0, 0, 390, 390);
        captures.value.push(canvas.value.toDataURL("image/png"));
        console.log(captures.value);
      }
    };

    const takePicture = async () => {
      const image = await Camera.pickImages({
        quality: 90,
        limit: 4,
        // source: CameraSource.Photos,
        // allowEditing: true,
        // resultType: CameraResultType.Base64,
      });

      for (let item in image.photos) {
        if (captures.value.length < 4) {
          const base64Data = await base64FromPath(image.photos[item].webPath);
          captures.value.push(base64Data);
        }
      }
    };

    const base64FromPath = async (path: string): Promise<string> => {
      const response = await fetch(path);
      const blob = await response.blob();
      return new Promise((resolve, reject) => {
        const reader = new FileReader();
        reader.onerror = reject;
        reader.onload = () => {
          if (typeof reader.result === "string") {
            resolve(reader.result);
          } else {
            reject("method did not return a string");
          }
        };
        reader.readAsDataURL(blob);
      });
    };

    return { capture, video, canvas, captures, takePicture };
  },
});
</script>

<style lang="scss">
.root {
  margin: 0 auto;
  width: 390px;
  position: relative;
}

.photo {
  width: 390px;
  height: 390px;
  margin-bottom: 24px;
}
.l2 {
  top: 0;
  position: absolute;
}
#camera_record_box {
  position: absolute;
  width: 390px;
  height: 390px;
  background-image: url("../square-1.png");
  opacity: 0.5;
}
#canvas {
  display: none;
}

.captureWrap {
  width: 100%;
  display: flex;
  flex-wrap: wrap;
  gap: 12px;
  .capture {
    img {
      width: 100px;
      height: 100px;
    }
  }
}

.button1 {
  background-color: red;
  color: #fff;
  padding: 16px;
  margin-bottom: 12px;
}
</style>